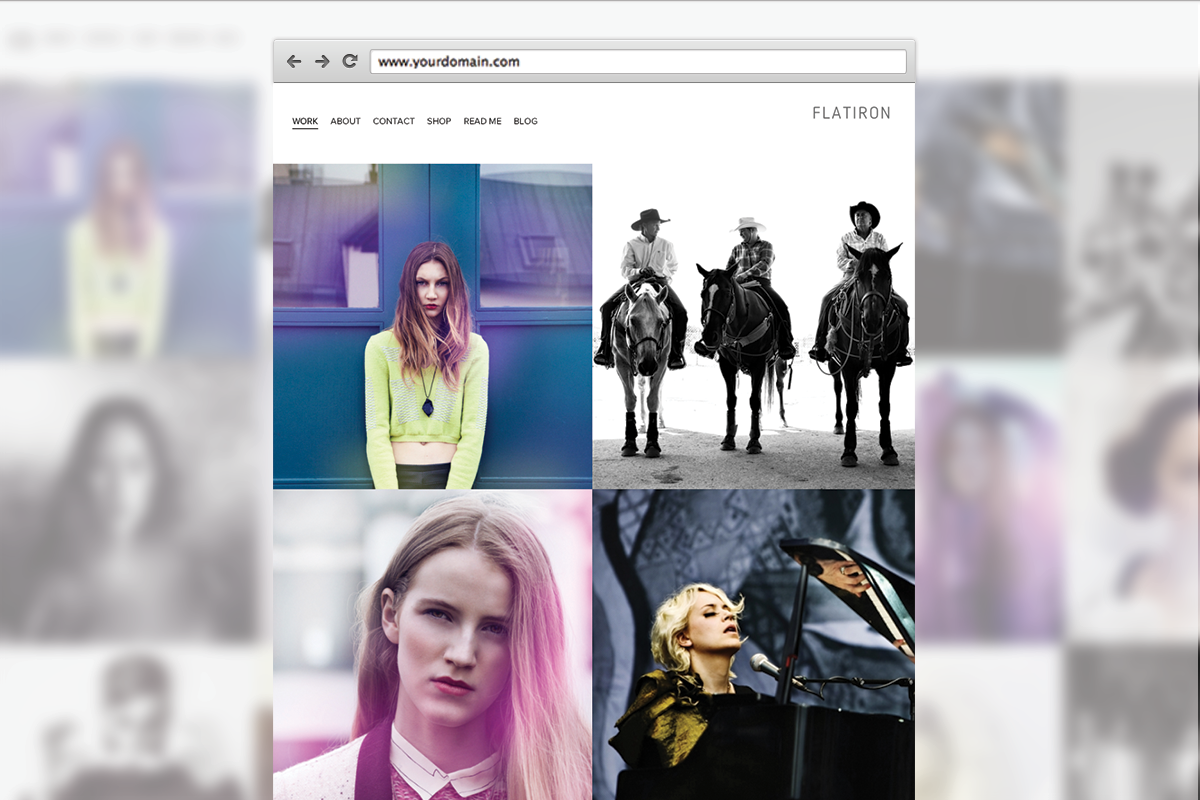
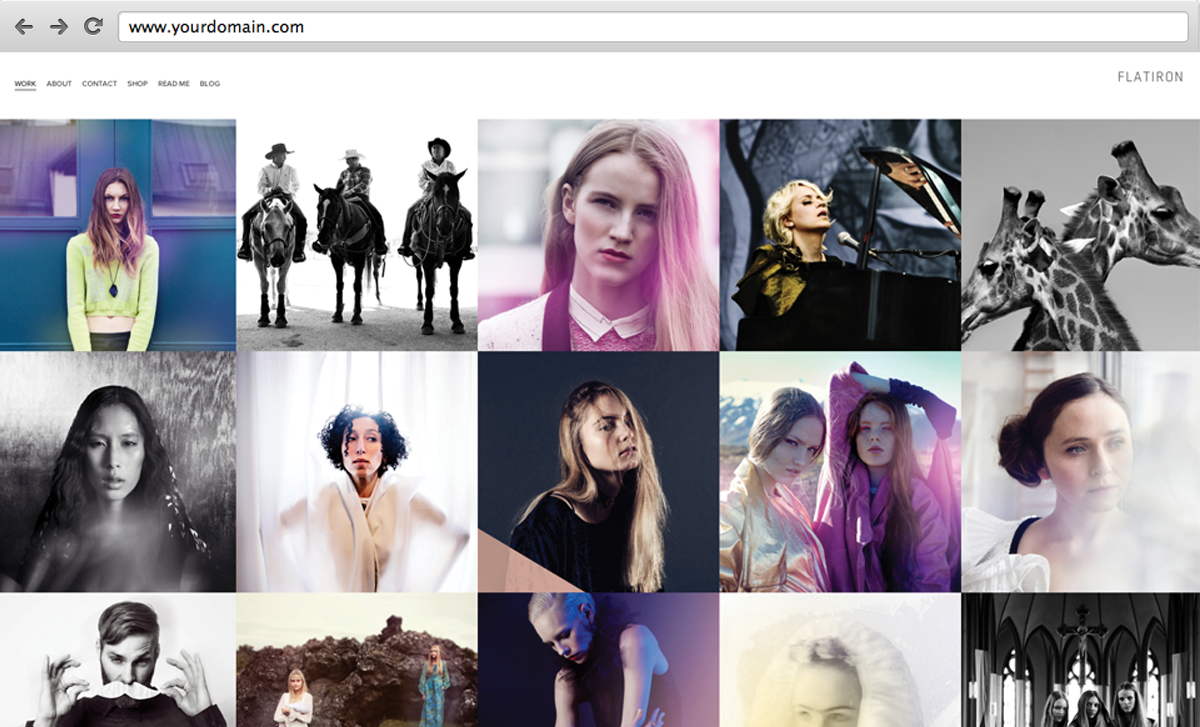
Flatiron is a portfolio template with a very unique layout. It's equally adept at showcasing design or photography projects and the Index page accommodates multiple galleries.
Special Features
Dynamic Layout
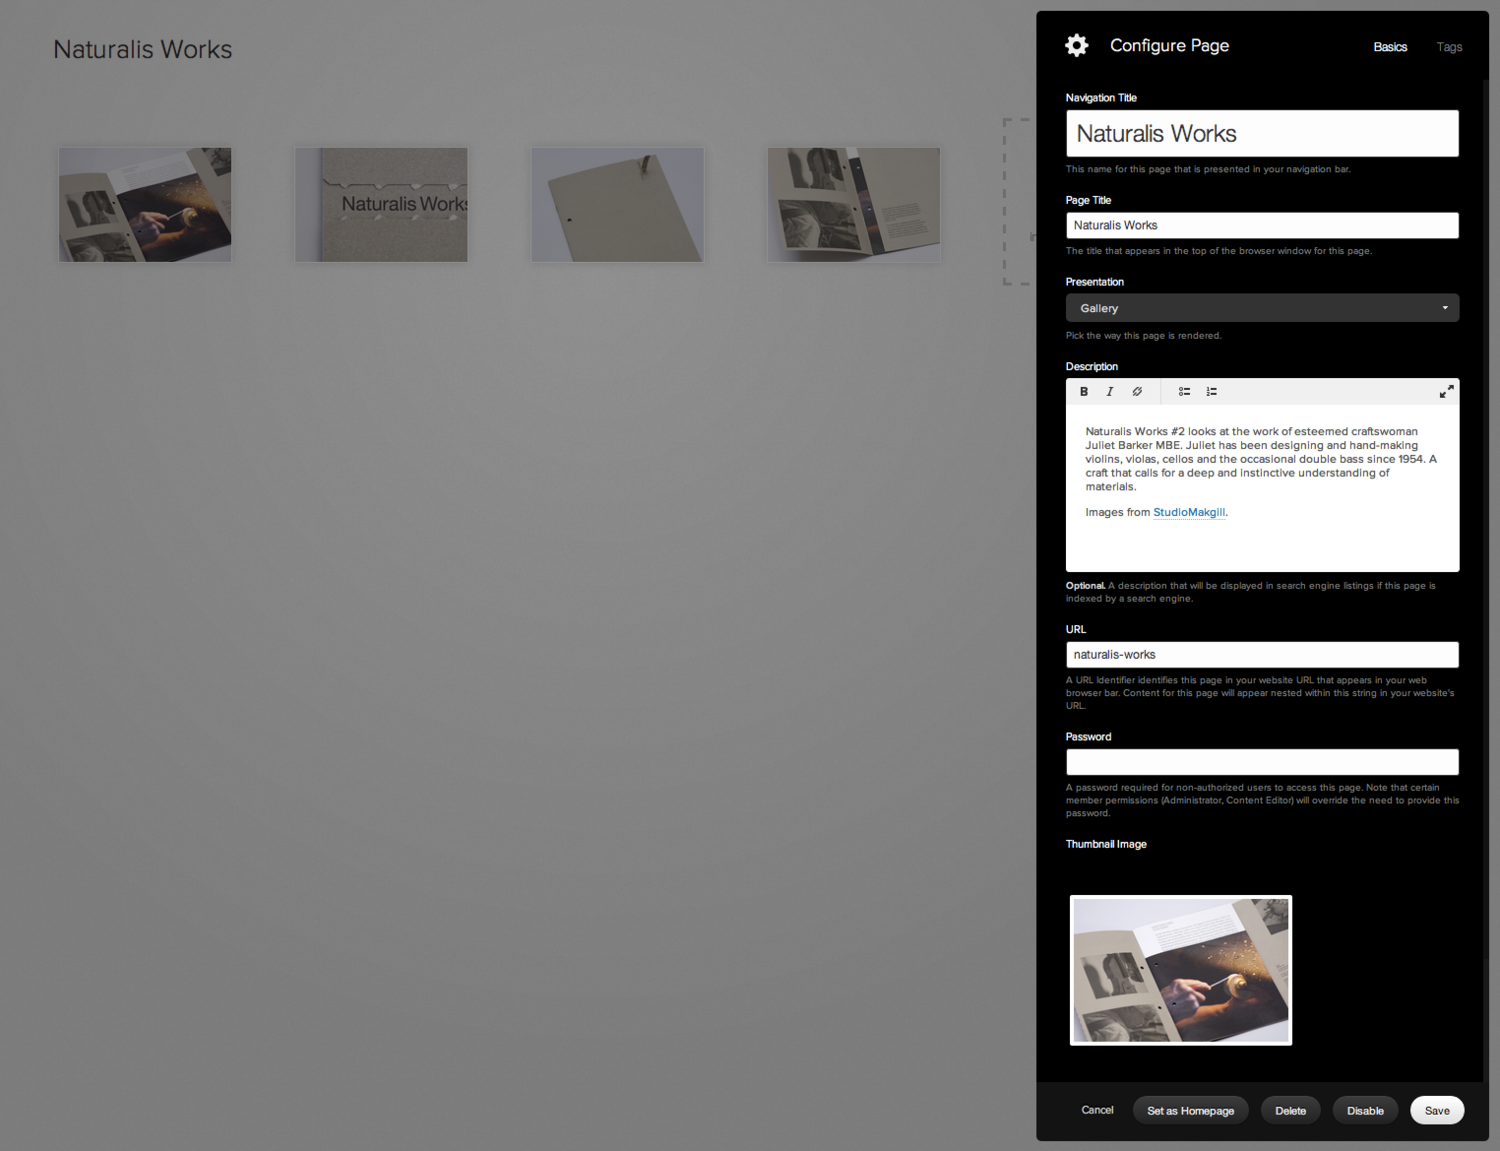
Flatiron dynamically and intelligently reflows your galleries based on the size of the browser window. By default, the first image in a gallery will be used as its thumbnail, but you can override that by uploading an image to Thumbnail Image in that gallery's Page Settings. When you click on a thumbnail, the images in a project are displayed vertically, and the thumbnails of all your projects are at the bottom of the page.


Index Page
The Index Page consists of a series of galleries. All galleries filed under Index will be displayed in the dynamic grid-style layout described above, rather than as individual gallery pages.
Index Gallery Controls
You can set the size of the gallery thumbnails with the Project Width setting under Gallery Styles in the Style Editor. Note that this is a maximum width, and not absolute, as it changes as with the browser window width. You can also set whether or not they're cropped to squares with the Project Squares setting under 'Gallery Styles'.
Other controls for the thumbnails include:
- The hover color with Grid Background Color under Colors.
- The title that shows on hover with Grid Headings Color and Grid Subheadings Color under Color, and Grid Headings and Grid Subheadings under typography.
- Whether or not the thumbnail zooms on hover with Project Hover Zoom under Options.
In the project detail view, you can set the width of the page with Project Detail Width and the width of the description in the left sidebar with Project Meta Width, both under Gallery Styles.
Social Icons
If you connect your social accounts (do this in the backend under Settings > Social Accounts > + Add Account), the links will appear as icons under the main site navigation. The size, color, and style of these are editable in the Style Editor under Social Icon Size, Social Icon Color, and Social Icon Style.
How to Use This Template
Index
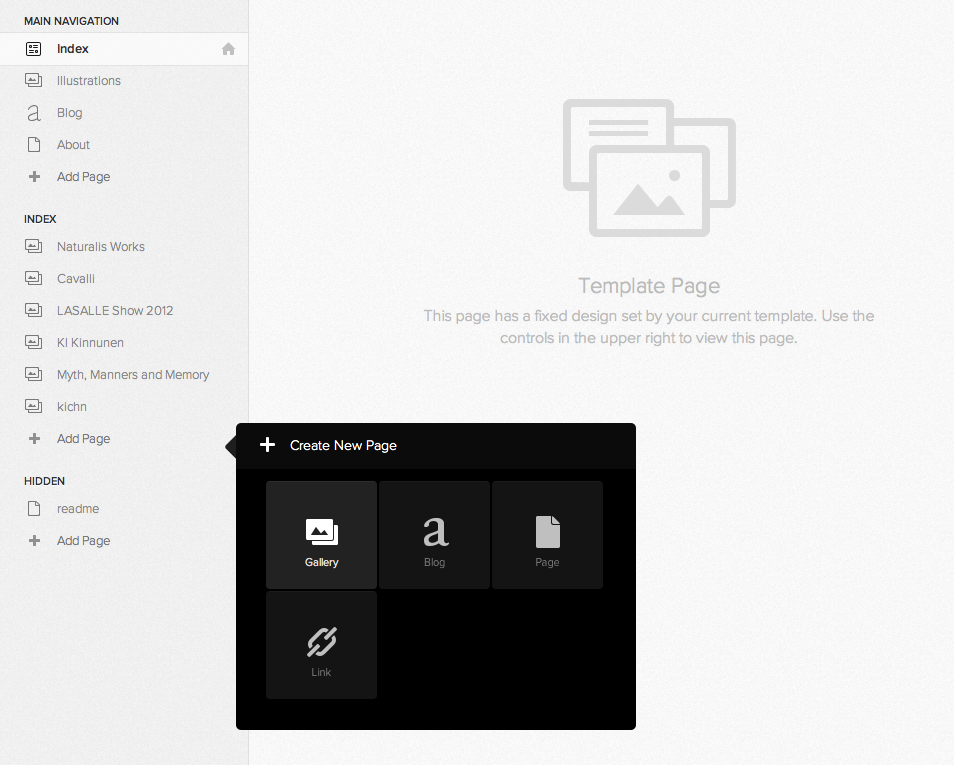
Flatiron works best with a fairly large number of galleries in the Index. To create this, add a new gallery page under the index section rather than the main navigation. Galleries that are added as pages will appear differently to galleries under the index.
Main Navigation
One-off gallery pages, blog pages, links, folders, and empty pages can all be added to the main navigation. These pages will appear in the main navigation in the left of the Header.
Gallery Details
To add a title and description for any gallery (either a standalone gallery or a gallery in the Index), click into Page Settings at the top right corner of the Gallery View. The Navigation Title will appear as a link in the index navigation. The Page Title will appear at the top of the Project Description view. The Description will appear under the images in the Project Description view.
Other Layout Options
The Footer is hidden until you move your mouse over it by default. You can change this to show all the time with Autohide Footer under Site Footer.
You can move the site title/logo to the left of the Header with Site Title/Logo Position, under Site Header.
The Header is set to stay at the top of the page as you scroll (Fixed). This can be changed to Normal with Header Position under Site Header.


